

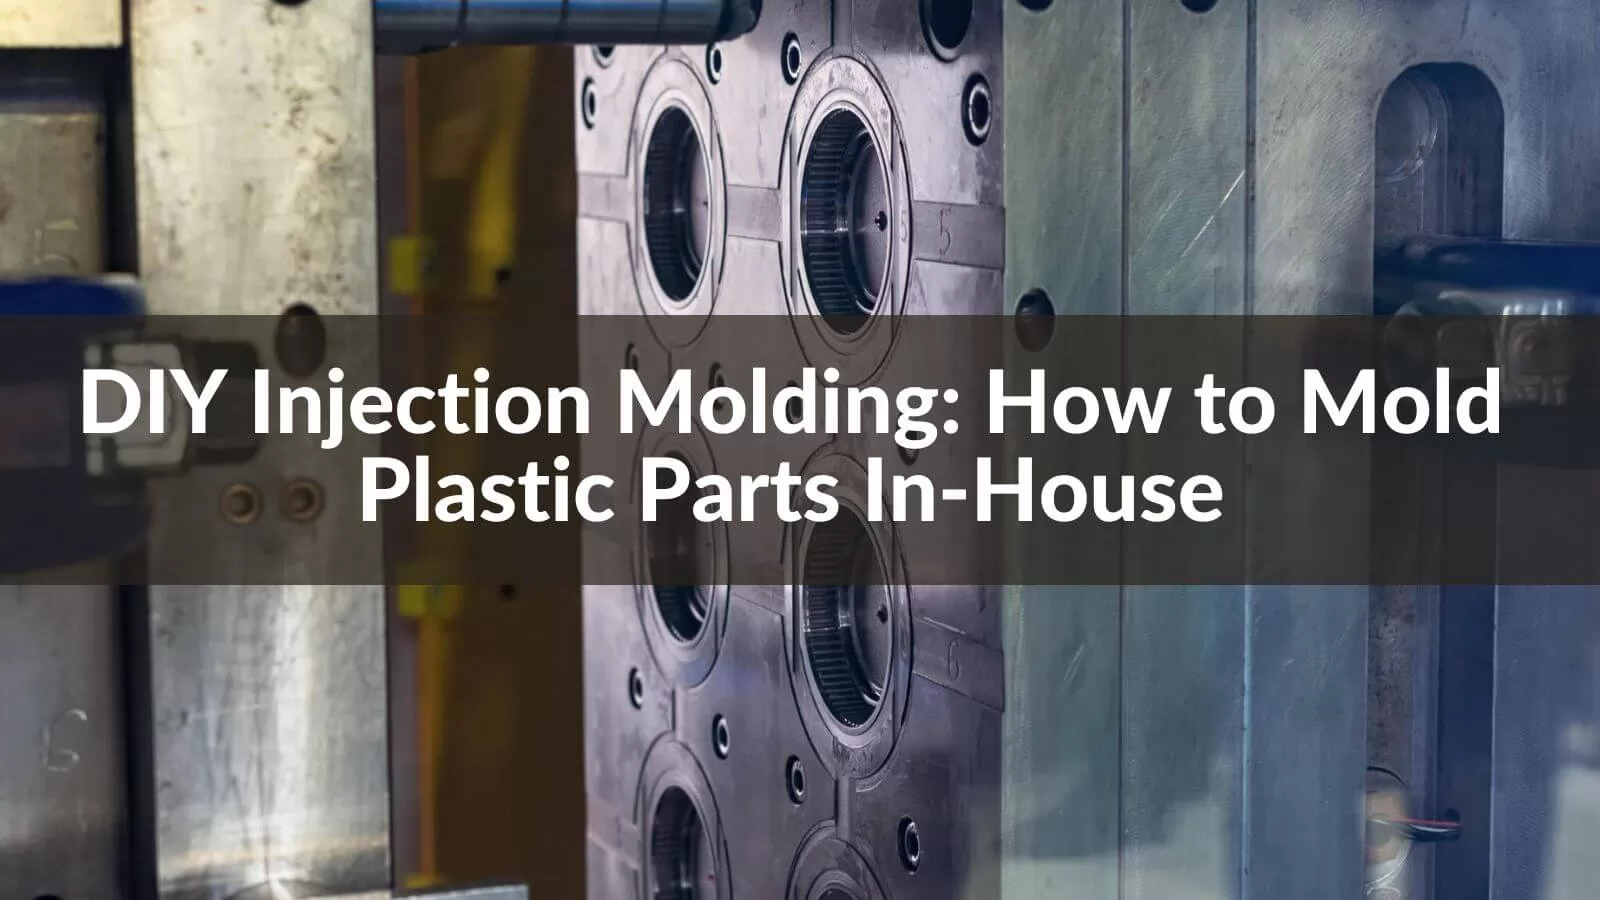
DIY injection molding is a cost-effective and highly customized method for producing plastic parts in-house, offering control over the production process and design flexibility. This guide provides an overview of the fundamental principles, techniques, and considerations for successfully molding plastic components on a small scale. Through understanding the key aspects of mold design, material selection, and the molding process itself, individuals and small businesses can create precise, high-quality plastic parts tailored to their specific needs.
Can You Do Injection Moulding at Home?
Yes, it is entirely feasible to perform injection moulding at home, although it requires preparation, the right equipment, and a bit of know-how. Home-based makers, hobbyists, and small businesses find DIY injection moulding an attractive option because it allows for rapid prototyping and small-scale production without the need for expensive industrial machinery. With advances in technology and accessibility to affordable tools, creating custom plastic parts in your own space has never been more achievable.
What You Need for DIY Injection Molding
When venturing into DIY injection molding to create plastic parts in-house, a comprehensive understanding of the components and equipment required is foundational to success. The process necessitates specific tools and materials, each playing a critical role in transforming your concept into a tangible product.
Injection Molding Machine: Central to the operation, this machine is responsible for heating the plastic material until it becomes malleable and then forcefully injecting it into the mold cavity. Machines vary significantly in size, capability, and cost, accommodating diverse project scales from small hobbyist endeavors to more substantial production runs.
Mold: The design complexity and the precision detail of your final product depend heavily on your mold. Molds can be fabricated from various materials including hardened steel for high-volume productions or aluminum and pre-hardened steel for lower volumes or prototypes. For those new to molding or needing quick turnarounds, 3D-printed molds offer an accessible yet less durable alternative.
Plastic Material: The selection of suitable plastic resin is crucial. Your choice will influence not just the aesthetics of your part—such as color and finish—but also its mechanical properties like strength, flexibility, and heat resistance. Thermoplastic pellets are commonly used in injection molding processes due to their reusability.
CAD Software: To design both the part you intend to produce and the mold itself, computer-aided design (CAD) software is essential. This technology allows for precise control over dimensions and geometries ensuring that your mold accurately replicates intended designs.
3D Printer (Optional): For those opting to create their molds via 3D printing rather than traditional machining methods, a 3D printer capable of working with materials sufficiently robust for injection molding use is vital. While not suitable for all applications, especially high-volume production, 3D printed molds can significantly reduce initial costs and lead times.
Ancillary Tools & Supplies: These include various items such as clamps to hold your mold securely during injection, sprue cutters for trimming excess material from finished parts, thermometers for monitoring material temperature accurately, safety gloves and glasses.
How do you start injection moulding?
Starting injection moulding involves several key steps to ensure a successful production of plastic parts right from your home or small workshop. Here's a systematic approach to kickstarting your DIY injection moulding journey:
· Understand the Basics: Before diving into the practical part, it’s imperative to have a good grasp of injection moulding principles. This includes understanding how thermoplastics behave under heat and pressure, the role of different types of molds, and the anatomy of an injection molding machine.
· Procure Materials and Equipment: The primary requirement is an injection molding machine, which varies significantly in size and cost depending on your project needs. Alongside this, you will need thermoplastic materials that you intend to mold. Basic tools for maintenance and operation of the machine are also necessary.
· Design Your Part: The design phase involves creating a blueprint of the part you wish to produce. Utilize Computer-Aided Design (CAD) software to model your part with precision. Paying attention to design details like wall thickness, corners, and potential stress points can drastically improve the quality and functionality of your final product.
· Create or Acquire Mold: Once your part design is ready, the next step is making the mold – essentially the negative shape of your intended part. For beginners or those looking without access to metalworking tools, 3D printing offers a viable route to create molds from certain types of resin suitable for low-volume production.
· Preparations Before Molding: Preparation includes setting up your injection molding machine according to manufacturer guidelines. It involves configuring parameters such as temperature settings for both melting the plastic and cooling it down inside the mold, as well as pressure settings for injecting the molten plastic into the mold cavity.
· Begin Injection Molding Process: With all preparations complete, you can begin injecting plastic into your mold. This process might require several trial runs before achieving satisfactory results. Analyze each output diligently and make necessary adjustments in either the mold design or machine settings.
DIY Injection Molding Step by Step
1. Design the Mold in CAD
To begin, conceptualize the part or product you wish to create. Consider the dimensions, surface finish, and any intricate details that are essential to the part's functionality or aesthetic appeal. Once you have a clear vision of your product, you can start drafting it in the CAD program. If you're new to CAD software, numerous tutorials and resources are available online to guide you through the basics of 3D modeling.
During this design phase, pay special attention to the mold's layout. It should include not just the cavity that shapes your part but also consider gate locations for injecting the plastic and vents for releasing trapped air. The design must facilitate easy removal of the finished part without damaging it or the mold itself — aspects like draft angles and split lines play critical roles here.
Materials selection is another aspect covered during this stage. Since different plastics behave differently under heat and pressure, choosing a material compatible with both your product requirements and your mold's capacity is crucial.
Upon completing your design in CAD, carefully review all measurements and features. Any errors at this stage could result in a poorly functioning mold or subpar final products after injection molding. Take advantage of CAD software’s precision to make adjustments until you’re confident that your mold design meets all necessary criteria for success.
2. 3D Print the Mold
The first thing to consider is the type of 3D printer and material that will be suitable for creating your mold. High-temperature resistant plastics or resin printers are often recommended due to their ability to withstand the pressures and temperatures involved in injection molding.
The resolution of your printer also plays a critical role. A higher resolution printer can produce molds with finer details, which is particularly important for intricate designs. This step requires careful planning and execution as the quality of your 3D-printed mold directly impacts the final product's precision and appearance.
Before starting the print, ensure your design is optimized for 3D printing. This involves considering factors such as draft angles, wall thickness, and support structures to prevent deformations during printing. It's also essential to thoroughly review your model for any errors that could translate into defects in both the mold and ultimately, your injected part.
After preparing and refining your design, proceed with printing your mold. Post-processing steps may include cleaning up any support material used during printing and possibly post-curing if you're using resin-based printers, which helps in achieving the desired strength and temperature resistance of the mold.
Remember, while 3D printed molds might not offer the same durability as traditional metal molds, they are an excellent way for designers attempting DIY injection molding to rapidly prototype their designs or produce low volumes of plastic parts without significant upfront costs.
3.Injection Molding the Plastic Parts
Firstly, you'll need to select the appropriate type of plastic for your project. The choice of material will depend on the desired properties of the final part, such as flexibility, strength, and resistance to heat or chemicals. Common plastics used in injection molding include ABS (Acrylonitrile Butadiene Styrene), Polyethylene (PE), and Polypropylene (PP).
Next, prepare your injection molding machine for operation. This involves heating the plastic material until it reaches its melting point. It's crucial to monitor the temperature closely, as exceeding the optimal melting point can degrade the plastic’s properties, while insufficient heat may prevent the material from fully filling the mold cavities.
After achieving the correct temperature, load the molten plastic into the machine's barrel. Using a plunger or screw mechanism, force this molten plastic into the pre-made mold with enough pressure to ensure all cavities are filled completely. Maintaining steady pressure is vital during this phase to avoid producing parts with surface defects or inconsistent dimensions.
Once injected, allow time for cooling. The cooling process solidifies the plastic inside your mold dimensions accurately reflecting your initial design intention from CAD software. Rapid cooling can sometimes lead to warping or internal stresses within molded parts; hence controlling cooling rate is also an important consideration.
Finally, after sufficient cooling time has elapsed, carefully open your mold to remove the finished plastic part(s). Depending on your design and materials used, some post-processing such as trimming excess material or polishing finished surfaces may be necessary.
Tips for Designers Trying DIY Injection Molding
· Understand your 3D printer's limitations and capabilities: It's crucial to be aware of what your 3D printer can and cannot handle in terms of intricate designs and resolution capabilities. Be ready to make design adjustments accordingly.
· Meticulously plan the parting line: The parting line placement impacts aesthetics, functionality, and strength of the final product. Ensure it's strategically positioned to minimize post-production work and potential weak points.
· Select high-quality materials: Choose plastic pellets that suit your project's requirements, as different materials can affect the strength, flexibility, and durability of your molded parts.
· Temperature control is key: Maintain accurate temperature settings to ensure proper plastic melting without degradation or burning. This balance is critical for optimal results and mold longevity.
· Learn about mold release agents: Invest time in understanding and using effective mold release agents to ensure clean part removal without sticking, which can lead to defects or damage to both the part and mold.
How Much Does an Injection Molding Machine Cost?
The cost of injection molding machines can vary significantly depending on several factors such as size, type, and the specific requirements of the molding process. Typically, a small desktop injection molding machine designed for DIY projects and low-volume production can start at a price range from approximately $1,000 to $3,000. These smaller machines are suitable for prototyping or producing small batches of plastic parts and are an affordable option for beginners or hobbyists looking to explore injection molding without committing a substantial financial investment.
For larger-scale operations that require more robust machinery capable of handling high volumes of production with greater precision, investment can escalate rapidly. Mid-range injection molding machines suited for small to medium-sized businesses might cost between $10,000 and $50,000. Machines in this category offer enhanced features including increased clamp force, larger shot sizes, and more advanced control systems.
At the high end of the spectrum, industrial-grade injection molding machines designed for continuous, high-volume production can command prices anywhere from $50,000 to well over $200,000. These machines combine sophisticated technology with large capacity, high efficiency, and the ability to mold complex parts with stringent tolerances.
It's also essential to account for additional costs beyond the initial purchase price when considering an investment in an injection molding machine. Operational costs including maintenance, power consumption, raw material expenses (plastic resins), and potential modifications or customizations required for specific projects need careful consideration.
|
Type of Injection Molding Machine |
Price Range |
|
Small Desktop (DIY) |
$1,000 - $3,000 |
|
Small to Medium-Sized Businesses |
$10,000 - $50,000 |
|
Industrial-Grade (High Volume) |
$50,000 - $200,000+ |
Is Plastic Injection Molding Difficult?
Plastic injection molding involves melting plastic granules and injecting them under high pressure into a mold cavity, where they cool and solidify into the final part. The process itself may seem straightforward, but its execution can be complex, requiring a detailed understanding of both the materials involved and the machinery used.
The complexity of plastic injection molding arises primarily from the need to accurately design and manufacture molds that can repeatedly produce parts to high tolerances. This requires not only advanced technical skills in computer-aided design (CAD) and manufacturing but also an in-depth knowledge of the properties of different plastics. The behavior of plastics under heat and pressure can vary significantly, affecting how they fill the mold cavity and form the part.
Another challenge is optimizing the parameters of the injection molding process itself, such as temperature, pressure, and cooling time. These parameters must be precisely controlled to ensure that parts meet specifications without introducing defects or inconsistencies. Achieving this level of control often involves a process of trial and error, which can be time-consuming and require a detailed record-keeping strategy to track variations in process conditions and outcomes.
Furthermore, acquiring and maintaining injection molding equipment represents another layer of difficulty. While desktop injection molding machines have made in-house production more accessible for small-scale operations or hobbyists, these smaller machines may lack the capabilities required for more demanding applications. Larger industrial-grade machines offer greater precision and flexibility but come with higher costs for acquisition, operation, and maintenance.
In Conclusion
DIY injection molding presents an accessible and cost-effective method for individuals and businesses to fabricate plastic parts in-house.
By exploring the tailored solutions and resources available, you can significantly enhance your manufacturing capabilities and efficiency. Take the first step towards mastering the art of injection molding by seeking out further information and guidance today.